Connect to Azure with Terraform
In this tutorial, we’ll authenticate to the Terraform azurerm provider with
the Azure CLI.
This page describes how to log into the Azure CLI and set up your azurerm
Terraform provider.
Log into the Azure CLI
-
In your terminal, run the following command:
az loginA browser window opens at
https://login.microsoftonline.com/organizations/oauth2/v2.0/authorize.Select your Microsoft account to log in.
If a window does not open, cancel the command (Ctrl + C) and run the following command instead:
az login --use-device-codeThen follow the directions in the terminal to log in.
-
From the table in your terminal, select your subscription.
If you have only one subscription, press Enter.
If you have more than one subscription, enter the number in the left-most column of your desired subscription's row and then press Enter.
If the terminal shows your tenant and subscription ID, you've successfully logged in to the Azure CLI. You may see some announcements or warnings, as well.

Create a providers.tf file
-
Create a folder called
azure-web-app-with-terraform.mkdir azure-web-app-with-terraform -
Change directories into that folder.
cd azure-web-app-with-terraform -
Create a new file and enter the following Terraform code:
terraform { required_providers { azurerm = { source = "hashicorp/azurerm" version = "=4.9.0" } } } provider "azurerm" { features {} subscription_id = "<YOUR-AZURE-SUBSCRIPTION-ID>" } -
Save this file as
providers.tf.This file defines your Terraform providers. You can define any number of providers in your Terraform project. For this tutorial, we’ll use only the
azurermprovider.
Initialize your Terraform workspace
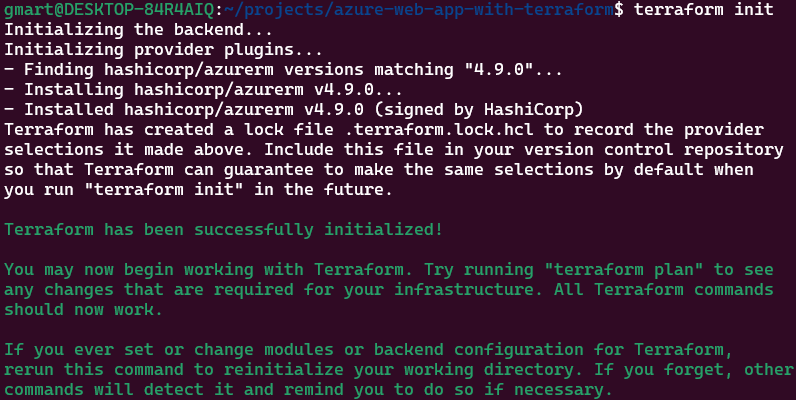
In your terminal, run the following command:
terraform init
This command installs the providers and creates a .terraform.lock.hcl file.
This file records which providers the workspace uses so Terraform installs the
same versions when you run terraform init in the future.
You’re now ready to create Azure resources with Terraform.